How To Turn A Mirror Into A Frame…Repurposed Strawberry Diy
Hi everyone! It’s Dani ❤
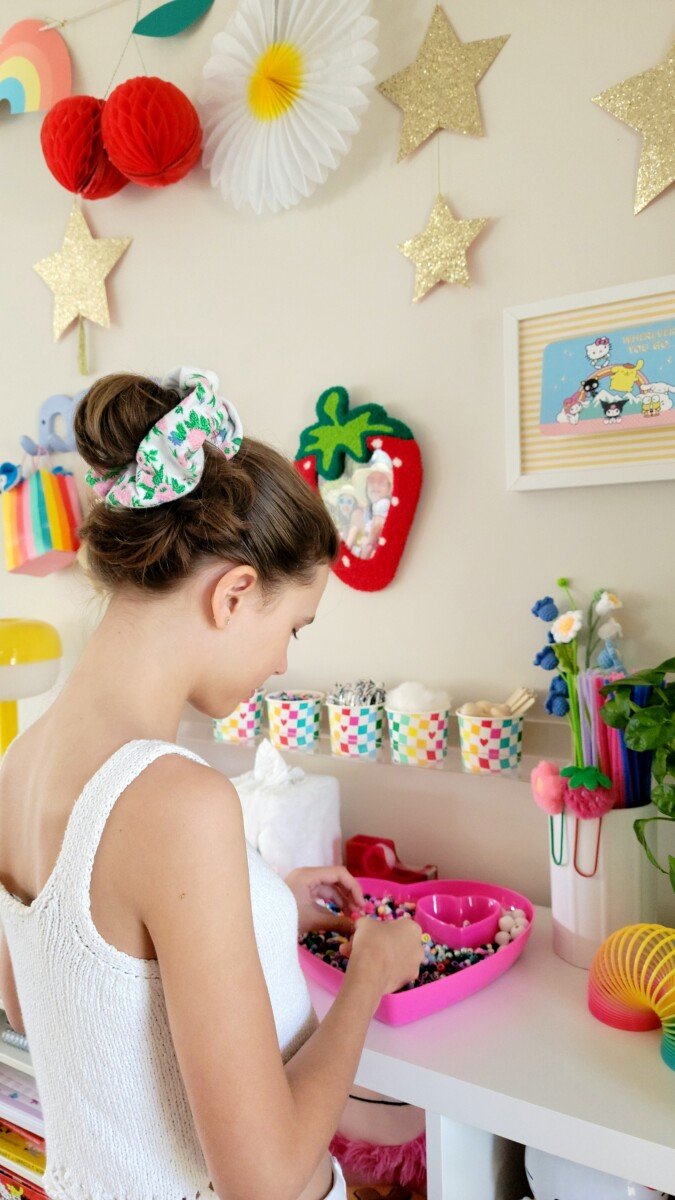
Cece and I were out shopping and found a cute tufted strawberry mirror at Five Below. I had an idea to repurpose it into a frame and it turned out to be super easy and fun! The whole project cost around $7 and the idea can be used for any mirror 😎


I only needed a flat screwdriver, hot glue gun, and an acrylic sheet to complete the frame.

You can find acrylic sheets at any craft store…I purchased mine at Hobby Lobby. The 8×10 was large enough for my strawberry.
STEP #1 = PRY BACKING OFF WITH A FLAT TOOL / SCREWDRIVER (adult supervision needed)
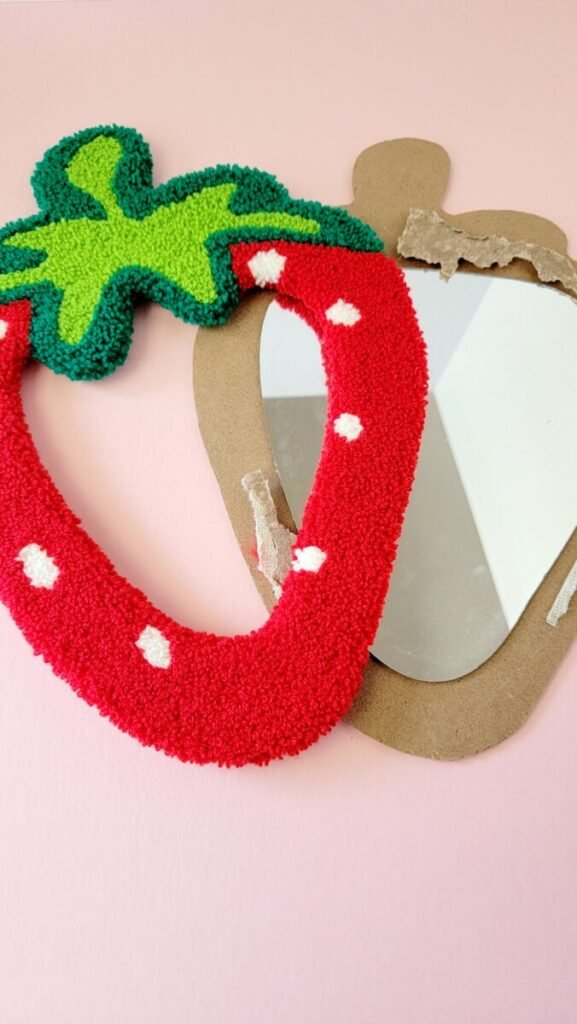
TIP: I chose to leave the mirror because it was glued on quite heavily (and the breaking a mirror bad luck thing🙄)
STEP #2 = TRACE AND CUT ACRYLIC
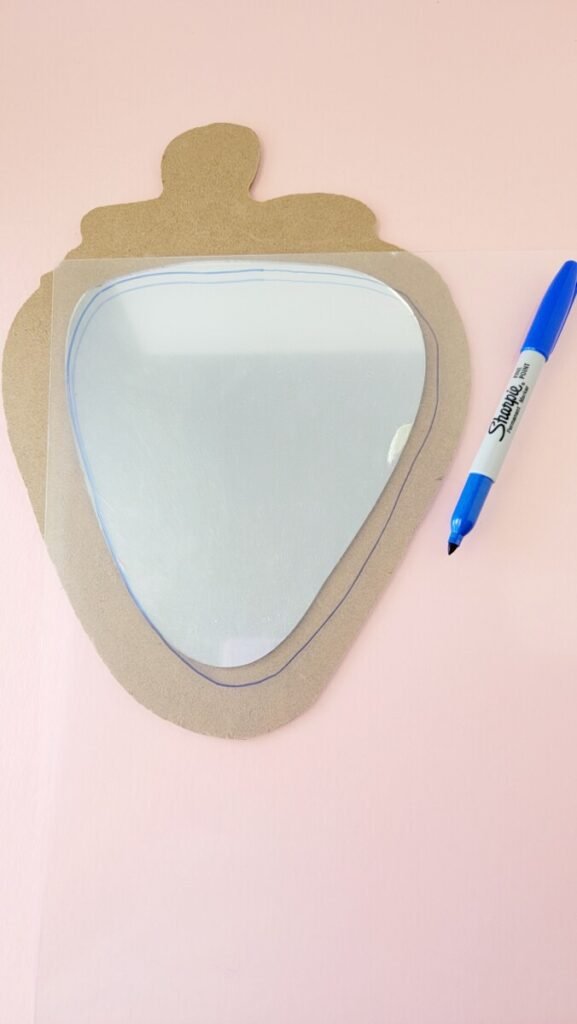
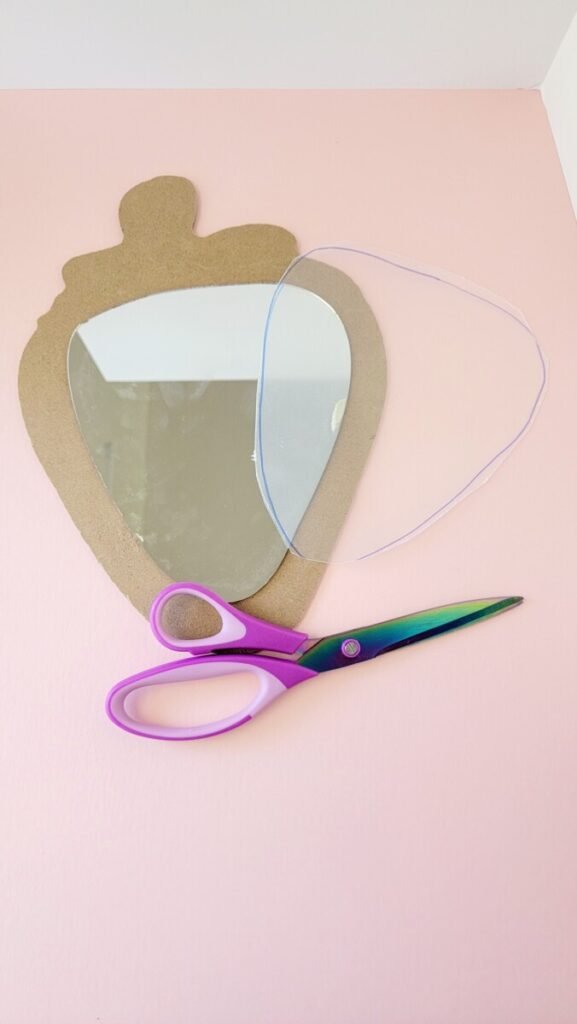
Lay the acrylic on top of the mirror and trace with a marker.
TIPS: Don’t remove the protective film on the acrylic before tracing and cutting. A good pair of scissors will cut the acrylic (some acrylic is very thick so the thin sheets are recommended). Also, don’t cut too close to your marks in case of small cracks.
STEP #3 = REASSEMBLE
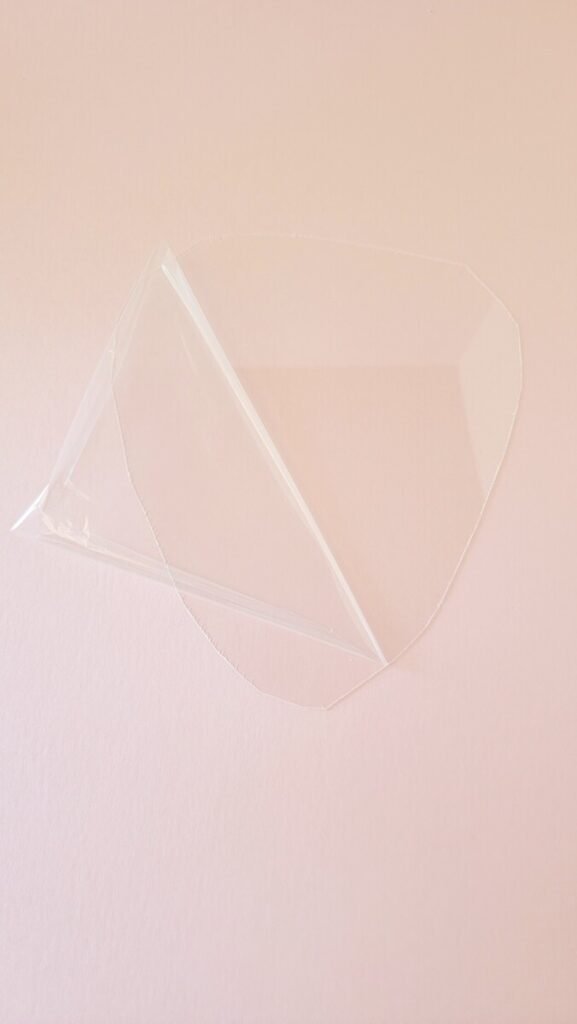
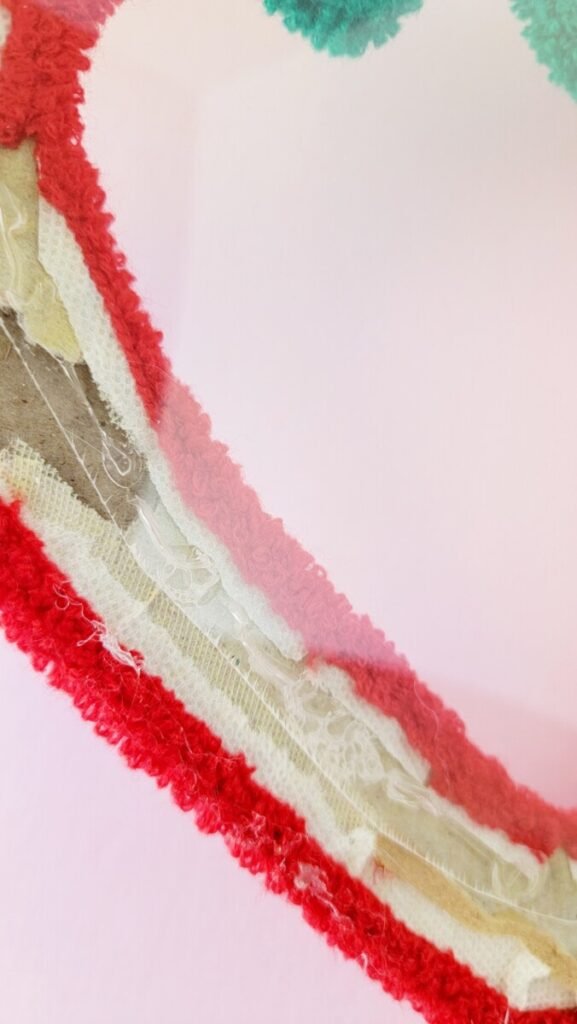
Remove the protective film on the acrylic (both sides😉). Then, glue it onto the back of the frame.

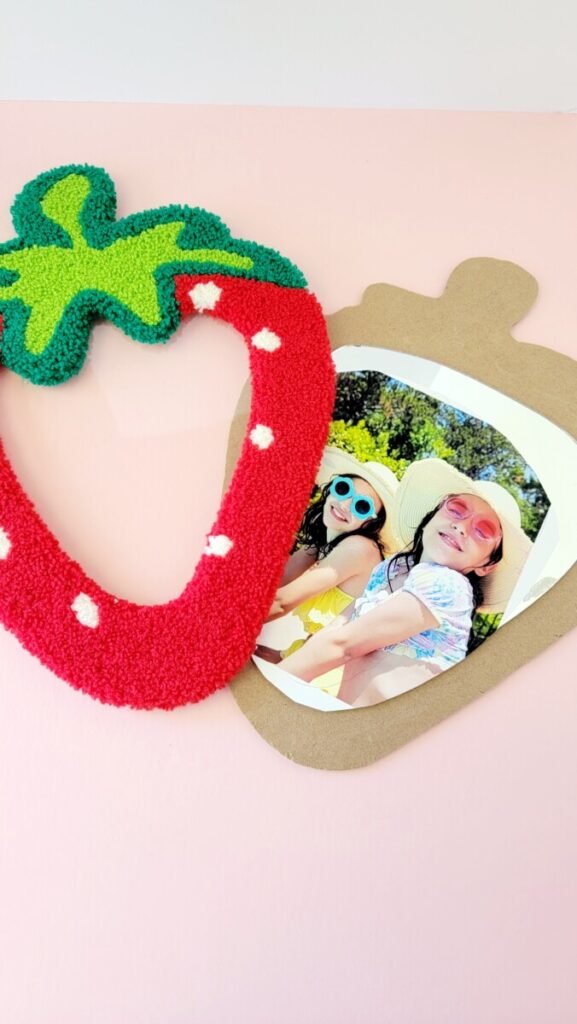
It’s time to add an adorable photo! I printed mine with my Epson Expression which I absolutely love. We chose a photo from our recent pool day with our besties, London and Lav. Lastly, use your hot glue gun to firmly attach the strawberry.
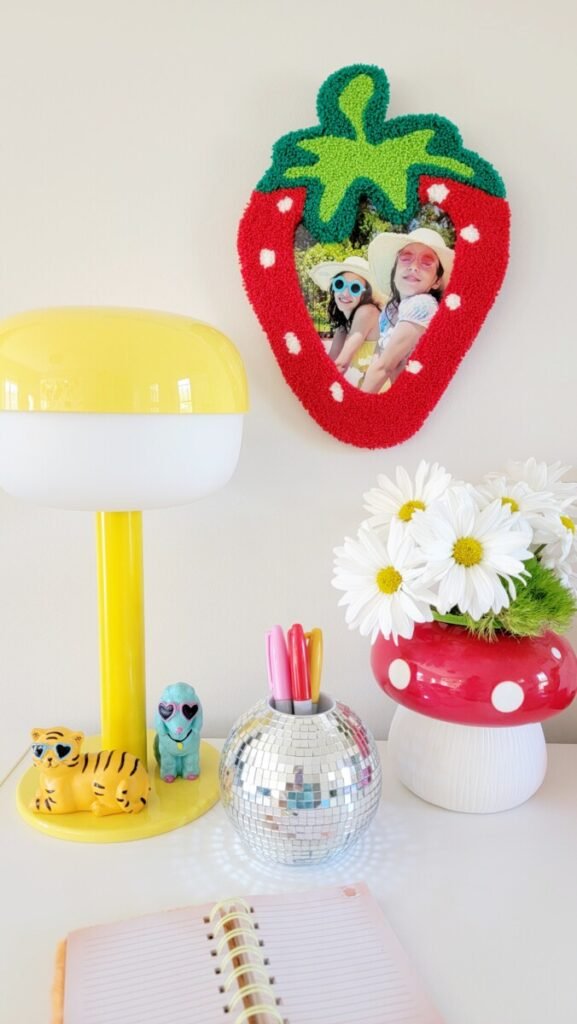
CECE LOVES THE FINISHED FRAME! NOW, THERE IS A GREAT MEMORY ON DISPLAY TO SPARK A SMILE WHEN SHE’S WORKING AT HER DESK ❤
CAN YOU THINK OF MORE WAYS TO REPURPOSE THIS STRAWBERRY MIRROR?
